Nissan Leaf battery pack redesign for the Mini
Share
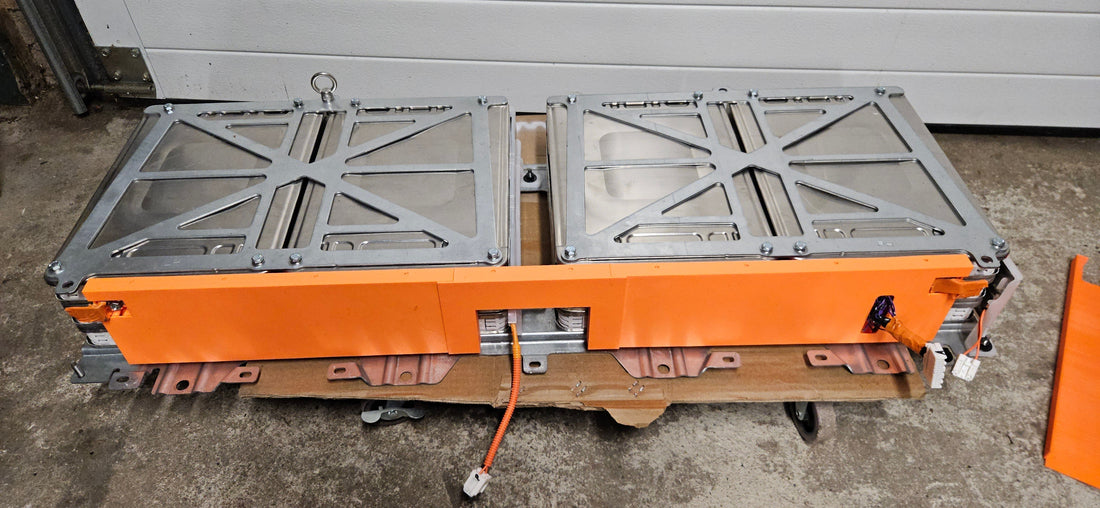
The battery pack of a Nissan Leaf is quite large and in its original configuration there is no way it will fit in the Mini. So the pack has to be split up into several smaller packs that can be connected in series. These separate packs are then easier to distribute over the vehicle, although in the case of a Mini it still remains a challenge.
The original plan was to distribute the battery over the engine compartment and trunk. The expectation was that the charger would no longer fit on top of the engine stack and would have to be placed elsewhere. This gave the opportunity to place a large battery box above the engine/inverter. However, when the engine stack was later placed in the engine compartment, there appeared to be enough space left to leave the charger on top in the original configuration. And because someone will have to assess the car to have it officially converted to an EV, it seemed useful to me to leave everything as original as possible to avoid unnecessary discussion. But now I needed to come up with a new location for the battery pack.
Now that the engine compartment is filled with the engine stack, there are few options left for the placement of the modules: floor behind the seats/under the back seat, on the back seat and in the trunk. Eventually the choice fell on 2x6 modules behind the seats (a stack of 4 and 2 modules on either side), 12 cells on the back seat (4 stacks of 3 modules) and the remaining 24 modules in the trunk. The latter then split into 2+2 in the spare wheel well and the remaining 20 as a long beam on top.
Now that it is clear where the battery modules will be placed in the Mini, it is time to design the shielding of the poles on the modules. The basis for this is the original design from Nissan, but since I am changing the configuration, I cannot use the original covers. Except for the long row of 20 pieces, for this it is sufficient to shorten the original cover. This can be done without wires touching sharp edges, so this is an easy and safe option. After the necessary hours of measuring and 3D drawing, the first version is ready (4 + 2), after which the basis is there to design the other variants at a much faster pace. In order to meet the requirements, I of course 3D printed the covers in the color orange, so that it is clear to everyone that this is high voltage.